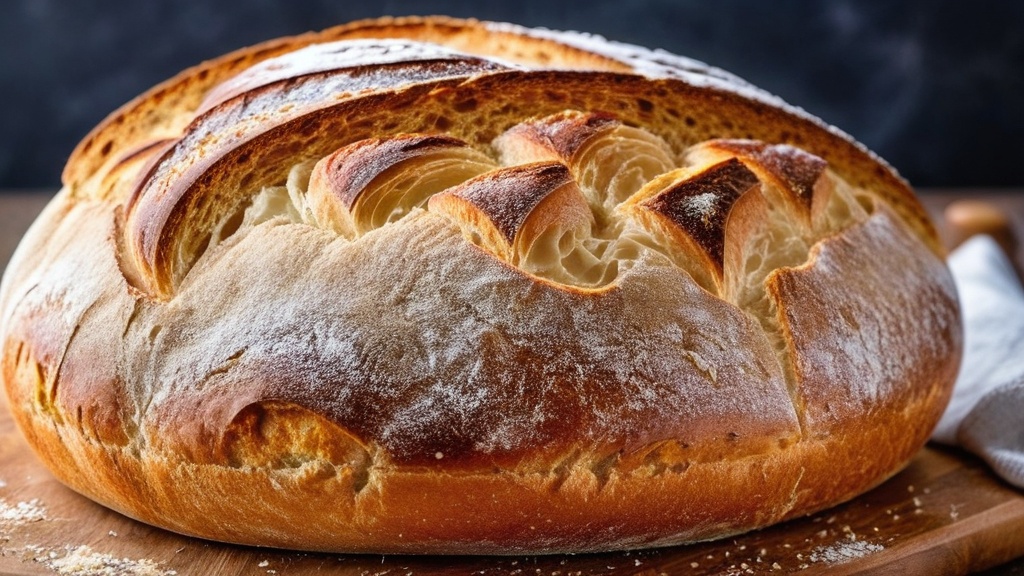
When you embark on the journey of sourdough baking, you quickly realize that achieving the perfect loaf is both an art and a science. The density of your sourdough bread is influenced by a myriad of factors, each playing a crucial role in the final product. At its core, sourdough is a living organism, a symbiotic relationship between flour, water, and wild yeast.
The fermentation process is what gives sourdough its unique flavor and texture, but it also determines how airy or dense your loaf will be. Understanding the science behind this process can empower you to make adjustments that lead to a lighter, more open crumb. The key to achieving the desired density lies in the balance of gluten development and gas retention.
As the dough ferments, the wild yeast produces carbon dioxide, which gets trapped in the gluten network formed by kneading and folding. If this network is too weak or if there isn’t enough gas produced, you’ll end up with a dense loaf. Conversely, if the gluten structure is strong and well-developed, it can hold onto more gas, resulting in a lighter, airier bread.
By grasping these fundamental principles, you can begin to troubleshoot and refine your sourdough baking techniques.
Key Takeaways
- Sourdough density is influenced by the balance of gluten development and gas production during fermentation.
- Over-fermentation can lead to dense sourdough due to excessive breakdown of gluten and gas loss.
- Under-fermentation can result in dense sourdough as the dough lacks sufficient time to develop gluten and trap gas.
- Temperature affects sourdough density by impacting the speed of fermentation and enzyme activity.
- Ingredients like flour type, hydration level, and salt content play a crucial role in determining sourdough density.
Over-Fermentation: A Common Culprit for Dense Sourdough
One of the most common reasons for dense sourdough is over-fermentation. When you allow your dough to ferment for too long, the gluten structure can break down, leading to a loaf that lacks the necessary strength to rise properly. This breakdown occurs because the wild yeast continues to consume sugars in the dough, producing more carbon dioxide than the gluten can handle.
As a result, the dough becomes slack and loses its ability to trap air bubbles effectively. To avoid over-fermentation, it’s essential to keep a close eye on your dough during the bulk fermentation phase. Look for visual cues such as increased volume and a bubbly surface.
You want your dough to be puffy but not overly expanded. If you notice that your dough has doubled in size and has started to collapse or feels overly sticky, it’s likely that you’ve let it ferment for too long. Adjusting your fermentation times based on temperature and humidity can help you achieve the perfect balance.
Under-Fermentation: Another Reason for Dense Sourdough
On the flip side of over-fermentation lies under-fermentation, another common issue that can lead to dense sourdough. When your dough hasn’t fermented long enough, it won’t have developed sufficient gas bubbles or gluten structure to rise properly during baking. This often results in a loaf that is heavy and compact rather than light and airy.
Under-fermented dough may also lack flavor complexity since the fermentation process is responsible for developing those rich, tangy notes that sourdough enthusiasts cherish. To ensure proper fermentation, pay attention to the signs of readiness in your dough. It should have increased in volume and exhibit a slightly domed shape.
A good test is the “poke test,” where you gently poke the dough with your finger; if it springs back slowly but leaves an indentation, it’s likely ready for shaping. If it springs back quickly, it may need more time to ferment. By mastering the timing of your fermentation process, you can avoid the pitfalls of under-fermentation and achieve a beautifully risen loaf.
The Impact of Temperature on Sourdough Density
Temperature plays a pivotal role in sourdough baking, influencing both fermentation rates and overall dough behavior. Yeast activity is highly sensitive to temperature; warmer environments accelerate fermentation while cooler temperatures slow it down. This means that if you’re baking in a warm kitchen, your dough may ferment faster than expected, increasing the risk of over-fermentation.
Conversely, if your kitchen is on the cooler side, you might find that your dough takes longer to rise, leading to potential under-fermentation. To manage temperature effectively, consider using a thermometer to monitor both your dough and your environment. Ideal fermentation temperatures typically range between 75°F to 85°F (24°C to 29°C).
If your kitchen is too warm, you might want to refrigerate your dough during bulk fermentation to slow down yeast activity. On cooler days, placing your dough in a slightly warm oven (turned off) or near a heat source can help maintain an optimal temperature for fermentation. By controlling temperature variables, you can significantly improve your sourdough’s density and overall quality.
The Role of Ingredients in Sourdough Density
The ingredients you choose for your sourdough can also have a profound impact on its density. Flour type is particularly important; different flours have varying protein contents that affect gluten development. For instance, bread flour typically has a higher protein content than all-purpose flour, which helps create a stronger gluten network capable of trapping more gas during fermentation.
If you’re using whole grain flours or specialty flours like rye or spelt, be aware that they may require adjustments in hydration levels and fermentation times due to their unique properties. Water quality is another factor that shouldn’t be overlooked. Chlorinated tap water can inhibit yeast activity and negatively affect fermentation.
If possible, use filtered or bottled water to ensure that your yeast can thrive. Additionally, consider incorporating ingredients like vital wheat gluten if you’re working with lower-protein flours; this can help enhance gluten strength and improve the overall structure of your bread. By being mindful of your ingredient choices, you can set yourself up for success in achieving a light and airy sourdough loaf.
The Importance of Proper Kneading and Shaping Techniques
Kneading and shaping are critical steps in sourdough preparation that directly influence its density. Proper kneading helps develop gluten strength by aligning gluten strands and creating a robust network capable of holding gas bubbles during fermentation and baking. If you skip this step or don’t knead long enough, your dough may lack the necessary structure to rise effectively.
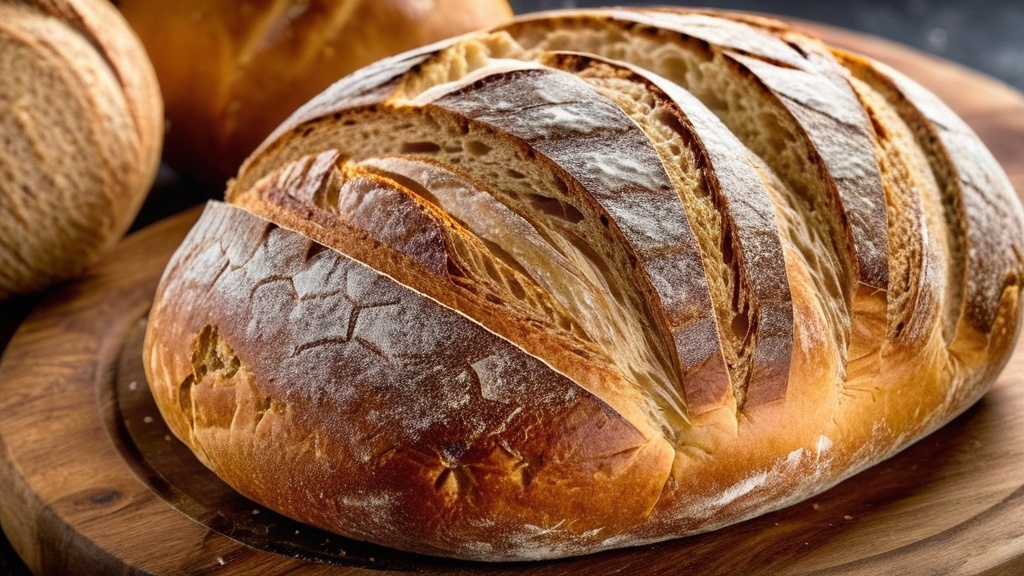
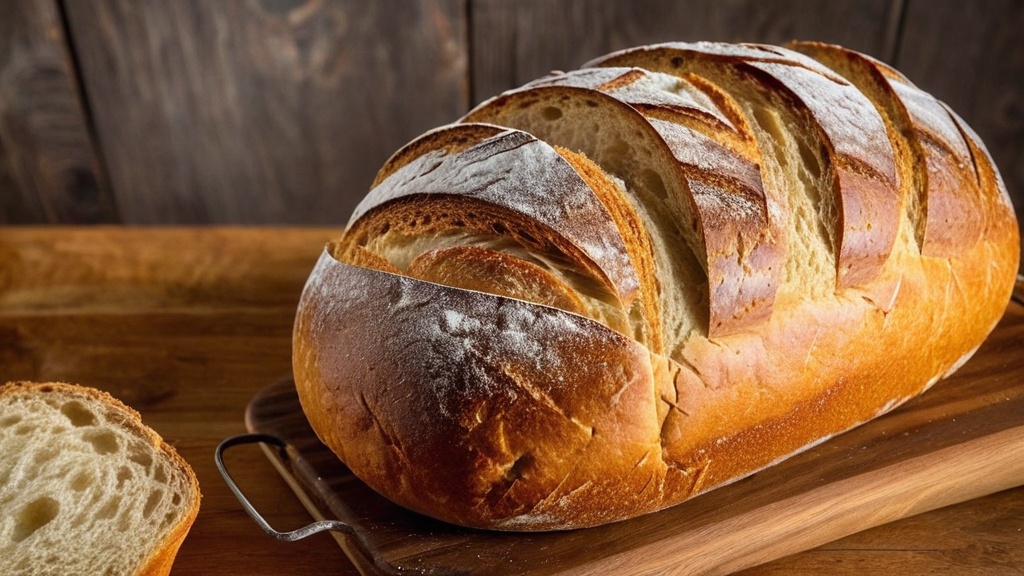
Shaping is equally important; it helps create surface tension in the dough, which supports its rise during proofing and baking. When shaping your dough, be gentle yet firm—too much pressure can deflate the gas bubbles you’ve worked hard to create. Use techniques like folding or pre-shaping followed by final shaping to ensure that your dough maintains its integrity while developing a taut surface.
Mastering these techniques will not only improve the density of your sourdough but also enhance its overall appearance and texture.
The Influence of Proofing on Sourdough Density
Proofing is the final stage before baking where your shaped dough undergoes its last rise. This step is crucial for achieving an airy crumb structure; however, improper proofing can lead to dense bread. Over-proofing can cause the dough to become too weak and collapse under its weight, while under-proofing may result in insufficient gas production and a heavy loaf.
To determine when your dough is properly proofed, look for visual cues such as increased volume and a slightly domed shape. The poke test can also be useful here; if the indentation from your finger slowly springs back but doesn’t completely disappear, it’s likely ready for baking. Additionally, consider using a proofing basket or banneton to help maintain shape during this critical phase.
By paying attention to proofing times and techniques, you can significantly enhance the lightness of your sourdough.
Troubleshooting Dense Sourdough: 9 Fixes That Work
If you find yourself facing persistent issues with dense sourdough despite your best efforts, don’t despair—there are several troubleshooting techniques you can employ to improve your results. First and foremost, revisit your fermentation times; adjusting these based on temperature and humidity can make a world of difference. Next, consider experimenting with different flour types or brands to see how they affect gluten development and gas retention.
You might also want to adjust hydration levels; adding more water can help create a more extensible dough that traps air better during fermentation. Another effective strategy is to incorporate stretch-and-fold techniques during bulk fermentation; this helps strengthen gluten without intensive kneading. Additionally, ensure that you’re using fresh starter; an inactive or weak starter can lead to poor fermentation results.
Lastly, don’t underestimate the importance of patience—sometimes allowing for longer fermentation or proofing times can yield better results than rushing through the process. By implementing these fixes and remaining adaptable in your approach, you’ll be well on your way to achieving beautifully airy sourdough loaves that are sure to impress.
If you’re struggling with dense sourdough and looking for ways to improve your baking skills, you might find the article “Mastering the Art of Sourdough: Tips for Perfect Loaves Every Time” particularly helpful. This article delves into advanced techniques and tips that can help you achieve the perfect loaf, complementing the fixes mentioned in “Why Is My Sourdough Dense? 9 Fixes That Work.” By exploring both resources, you’ll gain a comprehensive understanding of how to troubleshoot common issues and refine your sourdough baking process for consistently excellent results.
Get Your Perfect Sourdough Ratio!
FAQs
What causes sourdough to be dense?
Sourdough can become dense due to a variety of factors, including overproofing, underproofing, improper shaping, using too much or too little flour, or not allowing the dough to ferment for long enough.
How can I fix dense sourdough?
There are several ways to fix dense sourdough, including adjusting the proofing time, using the right amount of flour, shaping the dough properly, and ensuring the dough ferments for the appropriate amount of time.
What is the ideal proofing time for sourdough?
The ideal proofing time for sourdough can vary depending on factors such as room temperature and the specific sourdough recipe being used. Generally, sourdough should be proofed until it has visibly expanded and feels airy and light.
How can I tell if my sourdough is underproofed?
Underproofed sourdough may feel dense and heavy, and it may not have expanded much during the proofing process. Additionally, it may not hold its shape well when scored before baking.
How can I tell if my sourdough is overproofed?
Overproofed sourdough may have a collapsed or deflated appearance, and it may feel overly soft and sticky. It may also have a sour or alcoholic smell.
What is the best way to shape sourdough to prevent it from becoming dense?
To prevent sourdough from becoming dense, it’s important to shape the dough gently and evenly, creating surface tension to help the dough hold its shape and rise properly during baking.
How can I adjust the amount of flour in my sourdough to prevent it from becoming dense?
Using the right amount of flour is crucial for achieving the proper texture in sourdough. It’s important to follow the recipe’s flour measurements carefully and to adjust as needed based on the dough’s consistency.
How long should sourdough ferment to avoid it becoming dense?
Sourdough should ferment for an appropriate amount of time to develop the desired texture and flavor. This can range from several hours to overnight, depending on the specific recipe and environmental factors.
What are some common mistakes that can lead to dense sourdough?
Common mistakes that can lead to dense sourdough include overproofing, underproofing, improper shaping, using too much or too little flour, and not allowing the dough to ferment for long enough.