When it comes to baking sourdough bread, one of the most crucial factors to consider is hydration. Hydration refers to the ratio of water to flour in your dough. It’s expressed as a percentage, with the total weight of flour being 100%.
For example, if you have 1000 grams of flour and you use 700 grams of water, you have a hydration level of 70%. This simple number can have a profound impact on the final loaf, influencing everything from texture to flavor. Understanding hydration is essential because it affects how your dough behaves during mixing, fermentation, and baking.
Higher hydration levels create a wetter dough that can be trickier to handle but often results in a more open crumb structure and a crusty exterior. Conversely, lower hydration levels yield a stiffer dough that’s easier to shape but may produce a denser loaf. As you embark on your sourdough journey, grasping the concept of hydration will empower you to make informed decisions about your bread-making process. Check out the hydration calculator to help you with your sourdough baking.
Key Takeaways
- Understanding hydration in sourdough is crucial for achieving the desired texture and flavor in your bread.
- The impact of hydration on sourdough texture is significant, with higher hydration levels resulting in a more open crumb and chewier texture.
- 70% hydration sourdough offers a good balance of workability and flavor, but may require longer fermentation times.
- 80% hydration sourdough produces a more open crumb and lighter texture, but can be more challenging to handle and shape.
- Factors to consider when choosing hydration level include flour type, ambient humidity, and personal preference for texture and flavor.
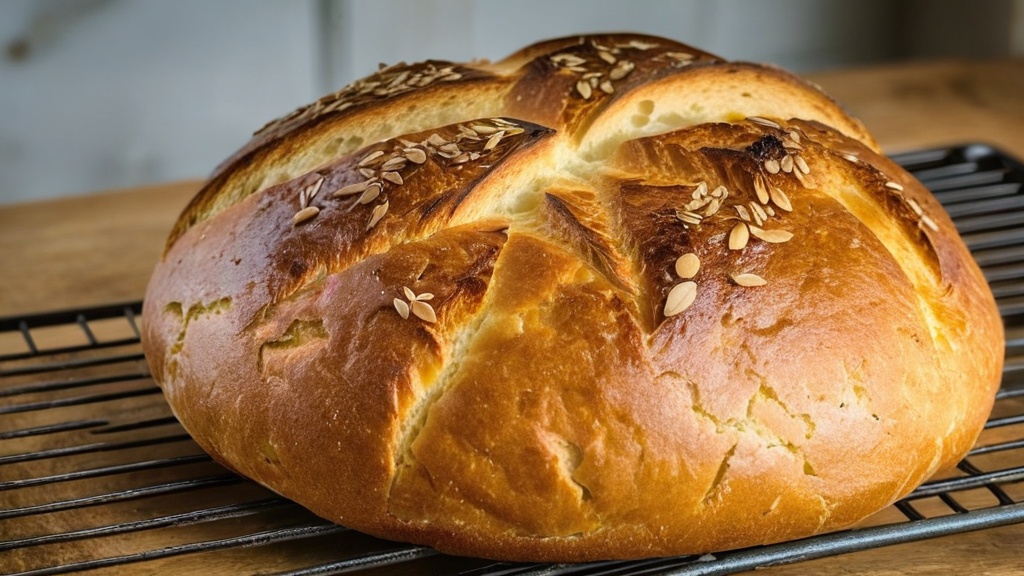
The Impact of Hydration on Sourdough Texture
The texture of your sourdough bread is largely influenced by its hydration level. A dough with higher hydration—think 75% and above—will typically yield a loaf with a light, airy crumb and larger holes. This is because the extra water allows for more steam during baking, which helps the bread rise and creates that delightful crust we all love.
If you’ve ever marveled at a bakery loaf with an open crumb structure, chances are it was made with a higher hydration dough. On the flip side, lower hydration levels can lead to a denser texture. While this might not be what you’re aiming for if you’re after that artisanal look, it can still produce delicious bread.
A stiffer dough is easier to shape and can hold its form better, making it ideal for beginners or those who prefer a more traditional sandwich bread. So, whether you’re aiming for a rustic loaf or a classic sandwich bread, understanding how hydration affects texture will help you achieve your desired outcome.
Benefits and Challenges of 70% Hydration Sourdough
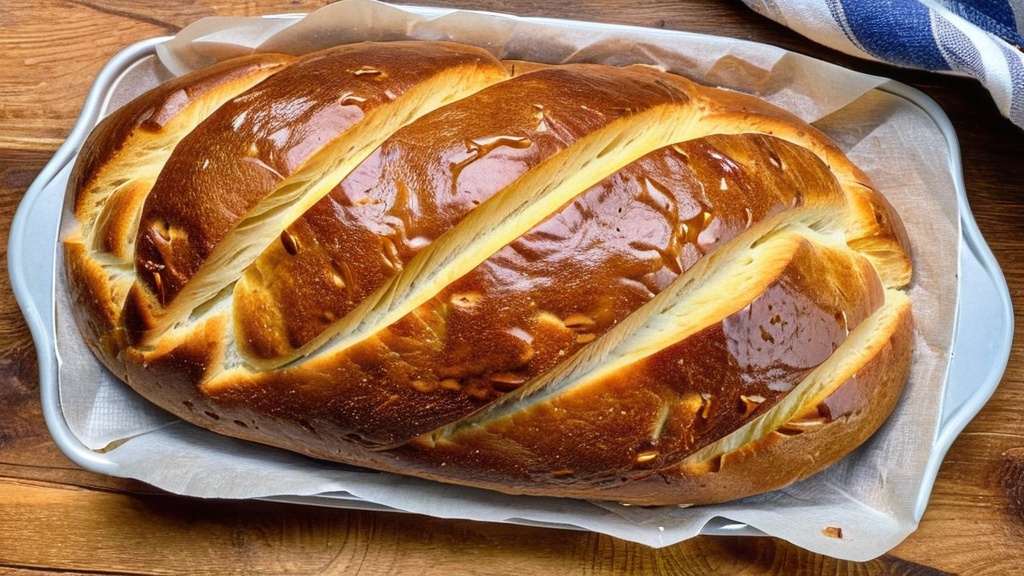
A hydration level of 70% strikes a lovely balance for many bakers. It’s high enough to create a nice open crumb while still being manageable for those who are new to sourdough baking. One of the primary benefits of this hydration level is that it allows for good fermentation without making the dough too sticky or difficult to handle.
You’ll find that shaping your loaf is much easier at this level, which can be a confidence booster for beginners. However, there are challenges to consider as well. While 70% hydration is generally forgiving, it can still be tricky if your kitchen is particularly warm or humid.
In such conditions, the dough may ferment faster than expected, leading to over-proofing if you’re not careful. Additionally, achieving that perfect crust might require some practice, as the balance between steam and heat in your oven plays a significant role in how your loaf turns out. But don’t worry!
With a little patience and practice, you’ll be able to master this hydration level.
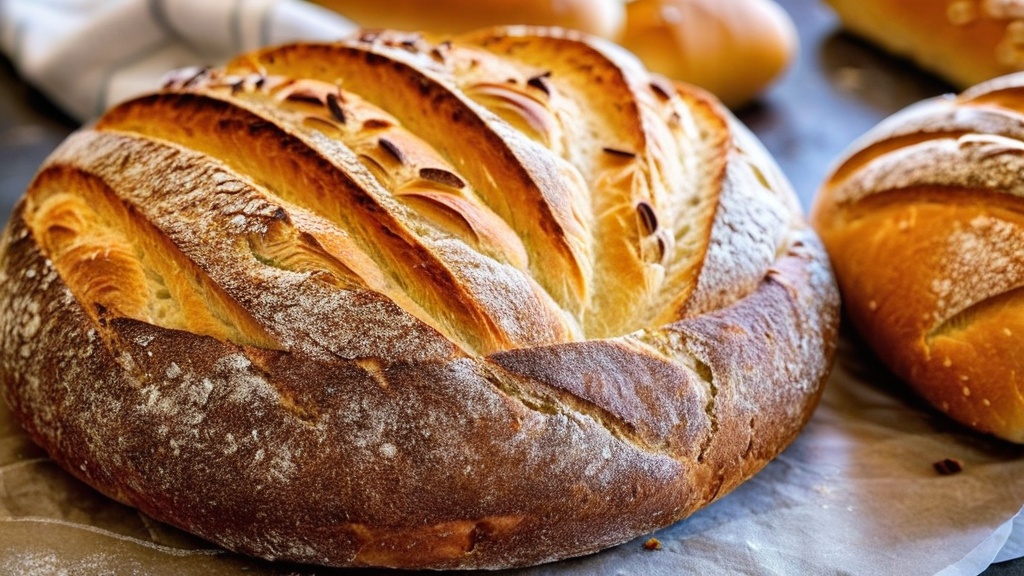
Benefits and Challenges of 80% Hydration Sourdough
Now we’re stepping up the game! An 80% hydration sourdough is where things get really exciting—and a bit messy! The benefits of this higher hydration level include an incredibly open crumb structure and a crust that’s beautifully crisp.
If you’re looking to impress friends and family with your baking skills, an 80% hydration loaf will certainly do the trick. The extra water allows for more steam during baking, which contributes to that lovely rise and texture. However, let’s not sugarcoat it: working with an 80% hydration dough can be quite challenging.
The stickiness can be off-putting for many bakers, especially if you’re used to working with stiffer doughs. You might find yourself wrestling with the dough rather than shaping it gracefully! It requires a bit more finesse and technique, so be prepared for some trial and error.
But fear not! With practice and the right techniques—like using wet hands and a bench scraper—you’ll soon find yourself mastering this high-hydration dough.
Factors to Consider When Choosing Hydration Level
Choosing the right hydration level for your sourdough isn’t just about personal preference; several factors come into play. First and foremost is your experience level. If you’re just starting out, you might want to stick with something around 70% hydration until you feel comfortable handling wetter doughs.
As you gain confidence and skill, you can gradually increase the hydration level. Another factor to consider is the type of flour you’re using. Different flours absorb water differently; for instance, whole wheat flour tends to absorb more water than all-purpose flour due to its higher bran content.
If you’re experimenting with different flours or blends, you may need to adjust your hydration accordingly. Additionally, consider your environment—humidity levels can affect how much water your flour absorbs, so keep an eye on the weather when planning your bake!
Experimenting with Different Hydration Levels
One of the most enjoyable aspects of baking sourdough is the opportunity to experiment with different hydration levels. Don’t be afraid to play around! Start by baking two loaves side by side: one at 70% hydration and another at 80%.
Take notes on how each dough feels during mixing and shaping, as well as how they turn out in terms of texture and flavor. As you experiment, pay attention to how different hydration levels affect not just the final product but also your baking process. You might find that certain levels work better for specific recipes or types of flour.
Remember, baking is as much about science as it is about art; each adjustment you make can lead to new discoveries in flavor and texture. So roll up those sleeves and get ready to have some fun in the kitchen!
Tips for Achieving the Desired Hydration Level
Achieving your desired hydration level doesn’t have to be daunting! Here are some practical tips to help you along the way. First, always weigh your ingredients rather than using volume measurements like cups.
This ensures accuracy and consistency in your bakes. A digital kitchen scale will become your best friend as you navigate through different hydration levels. Next, when mixing your dough, add water gradually rather than all at once.
This allows you to gauge how much water your flour can absorb without becoming overly sticky. If you find yourself struggling with a particularly wet dough, don’t hesitate to use a bench scraper or wet hands to help manage it during shaping. And remember: practice makes perfect!
The more you work with different hydration levels, the more intuitive it will become.
Finding the Right Balance for Your Sourdough
Ultimately, finding the right balance for your sourdough bread comes down to personal preference and experience. There’s no one-size-fits-all answer; what works for one baker may not work for another. As you experiment with different hydration levels, take note of what you enjoy most about each loaf—whether it’s the texture, flavor, or ease of handling.
Don’t forget that sourdough baking is as much about enjoying the process as it is about achieving perfection. Embrace the learning curve and celebrate each loaf you create! With time and practice, you’ll develop a keen sense of what works best for you and your unique baking style.
So grab that starter, roll up your sleeves, and let’s get baking!
If you’re delving into the nuances of sourdough hydration levels, you might find the article “70% vs 80% Hydration: Which Is Right for Your Sourdough?” particularly insightful. For those looking to further refine their sourdough baking skills, another valuable resource is the article titled “Mastering the Art of Sourdough: Tips for Perfect Loaves Every Time.” This piece offers a comprehensive guide to achieving consistently excellent results with your sourdough loaves. You can read more about it by visiting the following link: Mastering the Art of Sourdough: Tips for Perfect Loaves Every Time.
Nail Your Perfect Sourdough Ratio!
FAQs
What is hydration in sourdough baking?
Hydration in sourdough baking refers to the ratio of water to flour in the sourdough starter or dough. It is expressed as a percentage and affects the texture and characteristics of the final baked product.
What is the difference between 70% and 80% hydration in sourdough?
The difference between 70% and 80% hydration in sourdough refers to the amount of water relative to the amount of flour in the sourdough starter or dough. A 70% hydration means there is 70 grams of water for every 100 grams of flour, while 80% hydration means there is 80 grams of water for every 100 grams of flour.
How does hydration level affect sourdough bread?
The hydration level affects the texture, crumb structure, and overall characteristics of sourdough bread. Higher hydration levels result in a more open crumb and chewier texture, while lower hydration levels produce a denser crumb and a more manageable dough.
Which hydration level is right for sourdough?
The right hydration level for sourdough depends on personal preference and the specific recipe being used. Some bakers prefer the open crumb and chewy texture of higher hydration dough, while others prefer the easier handling and denser crumb of lower hydration dough.
How can I determine the right hydration level for my sourdough?
Experimenting with different hydration levels and observing the results is the best way to determine the right hydration level for your sourdough. Factors such as flour type, climate, and personal taste preferences can also influence the choice of hydration level.