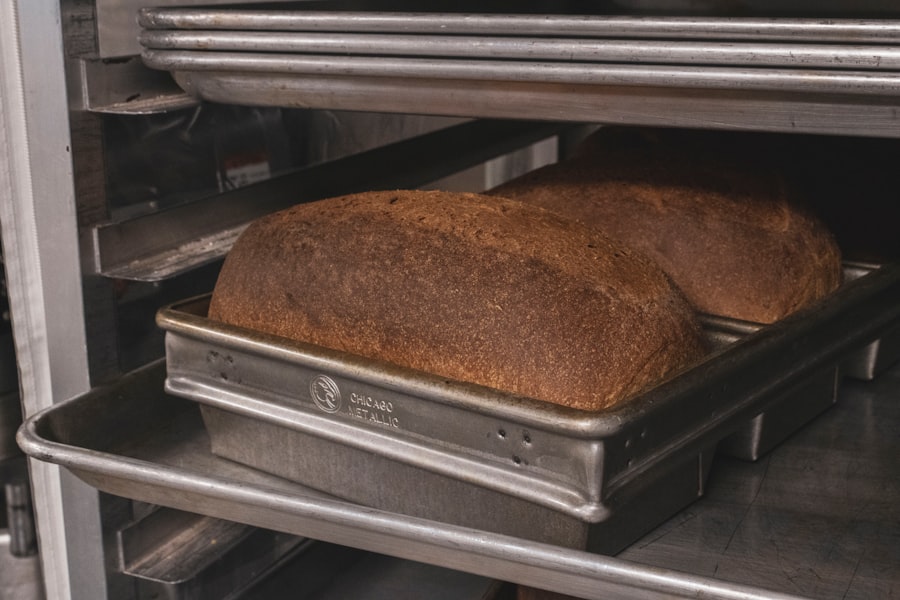
Baking sourdough in a loaf pan offers a more accessible entry point to sourdough baking than achieving a perfectly shaped, freeform boule. This method provides a consistent structure for the dough, simplifying the shaping process and often resulting in a more predictable bake. This guide aims to equip beginners with the knowledge and techniques necessary to produce well-risen, flavorful sourdough loaves using a loaf pan.
The foundation of any sourdough bread is the starter, a living culture of wild yeasts and lactic acid bacteria. Its health and activity directly impact the outcome of your loaf.
The Science Behind Sourdough Fermentation
Sourdough relies on a symbiotic relationship between yeast and bacteria. The yeast, primarily Saccharomyces cerevisiae, consumes sugars in the flour and produces carbon dioxide gas, which leavens the dough. The bacteria, predominantly Lactobacillus species, consume sugars and produce lactic and acetic acids. These acids contribute to sourdough’s characteristic tangy flavor and also strengthen the gluten network, enhancing dough structure. This dynamic interplay is a slow dance, requiring patience and observation.
Maintaining a Healthy Starter
- Feeding Schedule: A starter should be fed regularly to maintain its vitality. A good starting point is feeding it once every 24 hours. The feeding ratio (starter:flour:water) can vary, but a common ratio is 1:1:1 by weight. This means for every gram of starter, you add one gram of flour and one gram of water.
- Flour Choice: While all-purpose flour can be used, a blend of all-purpose and whole wheat or rye flour can foster a more robust starter due to the higher nutrient content of whole grains.
- Water Quality: Non-chlorinated water is preferable. Chlorine can inhibit the activity of the microorganisms. Filtered or bottled water is a good option.
- Temperature: Sourdough thrives in a warm environment, ideally between 70-80°F (21-27°C). Warmer temperatures accelerate fermentation, while cooler temperatures slow it down.
- Signs of Activity: A healthy, active starter will double or triple in volume within a few hours after feeding, become bubbly, and have a pleasant, slightly tangy aroma. If your starter is sluggish, it may require more frequent feedings or a warmer environment.
Recognizing a “Floppy” Starter
A starter that has peaked and begun to fall is no longer at its strongest. While it can still be used, its leavening power will be diminished. For optimal results in loaf baking, it’s best to use a starter that is actively rising and has not yet begun to collapse. Think of it as the peak of a surfer’s wave: you want to catch it at its highest point for maximum lift.
If you’re interested in perfecting your sourdough baking skills, you might find the article on sourdough in a loaf pan particularly helpful. This guide provides essential tips and techniques for achieving a beautifully shaped loaf with a soft crumb and a crispy crust. To explore this topic further, check out the article at Sourdough Calculator Blog.
Ingredient Selection and Preparation
The quality of your ingredients will directly influence the final characteristics of your sourdough loaf.
Flour: The Backbone of Your Bread
- Bread Flour: High-protein bread flour (typically 12-14% protein) is recommended for sourdough. The increased protein content leads to a stronger gluten network, which is essential for trapping the gases produced during fermentation and achieving a good rise, especially in the confines of a loaf pan.
- Whole Wheat Flour: Incorporating a portion of whole wheat flour adds nutritional value and a deeper flavor profile to your sourdough. It can, however, absorb more water and may slightly affect the dough’s texture and extensibility. Start with a smaller percentage (e.g., 10-20%) and gradually increase as you gain experience.
- Rye Flour: Rye flour contributes a distinct earthy flavor and can contribute to a more open crumb. It also contains less gluten-forming protein than wheat flour, so it’s best used in moderation.
If you’re interested in perfecting your sourdough baking skills, you might find this article on mastering the art of sourdough particularly helpful. It offers valuable tips that can enhance your technique, especially when using a loaf pan to achieve that ideal shape and crust. Whether you’re a beginner or an experienced baker, these insights can help you create delicious loaves that are sure to impress.
Water: The Universal Solvent
- Hydration Levels: The amount of water in relation to flour, known as hydration, is critical. Higher hydration levels (e.g., 75-85%) generally result in a more open crumb and a lighter loaf, but can also make the dough more challenging to handle. For beginners using a loaf pan, starting with a hydration of around 70-75% is advisable. This strikes a balance between desirable texture and manageable dough.
- Temperature: The temperature of your water can influence the dough’s fermentation rate. Using lukewarm water (around 80-90°F or 27-32°C) can help kickstart the fermentation process.
Salt: More Than Just Flavor
Salt plays a crucial role in sourdough beyond enhancing taste. It strengthens the gluten structure by tightening gluten strands, which improves dough extensibility and retention of gas. It also regulates fermentation by slowing down yeast activity, preventing the dough from over-proofing too quickly.
The Sourdough Baking Process: Step-by-Step
This section outlines the typical stages involved in creating a sourdough loaf in a loaf pan.
1. Autolyse (Optional but Recommended)
Autolyse is a resting period after mixing flour and water, before adding the starter and salt. This allows the flour to fully hydrate, initiating enzymatic activity that begins to break down starches into fermentable sugars and develop gluten naturally. This pre-hydration can lead to a more extensible dough, making it easier to handle and shape. The period typically lasts 30 minutes to a couple of hours.
2. Mixing and Bulk Fermentation
This is where the primary development of the dough occurs.
Mixing the Dough
Combine your active sourdough starter, flour, water, and salt. A common approach is to gradually incorporate the starter and salt into the autolysed flour and water mixture. Mix until just combined and no dry pockets of flour remain. The dough will likely be shaggy at this stage.
Bulk Fermentation: The Dough’s Growth Spurt
Bulk fermentation is the period where the dough develops strength, flavor, and volume. This often spans several hours (4-8 hours depending on temperature and starter activity). During this time, you will perform a series of “stretch and folds.”
- Stretch and Folds: Roughly every 30-60 minutes during the initial stages of bulk fermentation, gently stretch one side of the dough upwards and fold it over the center. Rotate the bowl and repeat this process for all four sides. This process develops gluten without excessive kneading, building strength and elasticity. As the dough ferments, you will notice it becoming smoother and more aerated. The dough’s internal structure forms like a microscopic scaffolding, and stretch and folds are the construction crew patiently reinforcing it.
Signs of a Developed Dough
A well-fermented dough will have increased in volume (typically 30-50%), feel airy, and show some surface tension. It should pass the “windowpane test,” where a small piece of dough can be stretched thin enough to see light through it without tearing.
3. Shaping for the Loaf Pan
This is a critical step to achieve a good rise in the loaf pan.
Pre-Shaping
Gently turn the dough out onto a lightly floured surface. Using a bench scraper, gently tuck the edges of the dough underneath itself to create a taut surface. Let it rest for 15-20 minutes, allowing the gluten to relax.
Final Shaping
For a loaf pan, you want to create a tight cylinder that will fit snugly into the pan.
- Gently flatten the pre-shaped dough into a rough rectangle.
- Fold the top third down towards the center.
- Fold the bottom third up over the first fold, like a letter.
- Gently roll the dough upwards and downwards to seal the seam.
- Tuck the ends under to create a smooth, taut surface.
- Place the shaped dough seam-side down into your greased and floured loaf pan.
The goal is to create tension on the surface of the dough without degasing it too much.
4. Proofing (Second Fermentation)
After shaping, the dough undergoes a final rise, or proofing.
Room Temperature Proofing
You can proof the dough at room temperature for 1-3 hours. The dough should visibly increase in size and appear puffy. It should spring back slowly when gently poked.
Cold Proofing (Retarding)
For enhanced flavor development and easier scoring, a cold proof in the refrigerator is often preferred. Cover the loaf pan tightly with plastic wrap and refrigerate for 8-24 hours. Cold proofing slows down fermentation, allowing the acids to develop further, leading to a more complex flavor. It also makes the dough firmer and easier to handle for scoring.
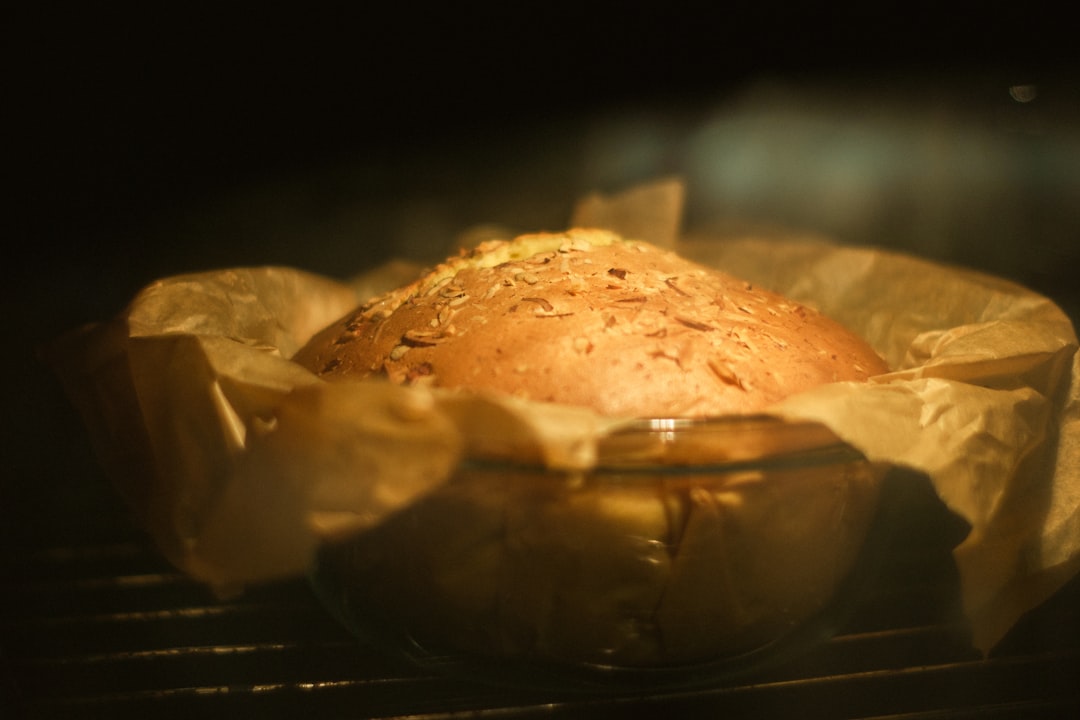
5. Baking the Loaf
Baking the sourdough in a loaf pan requires careful temperature and steam management.
Preheating the Oven
Preheat your oven to the desired temperature, typically 450-475°F (230-245°C). It is crucial to preheat the oven thoroughly to ensure a good oven spring.
Creating Steam
Steam is vital in the initial stages of baking sourdough. It keeps the surface of the dough moist and pliable, allowing the loaf to expand maximally before the crust sets.
- Water Pan Method: Place a shallow oven-safe pan at the bottom of your oven during preheating. Once you place the loaf in the oven, carefully pour about a cup of hot water into the preheated pan to create steam. Close the oven door immediately.
- Spray Bottle Method: Lightly mist the oven walls with water from a spray bottle before placing the loaf in the oven. This can be repeated once or twice in the first few minutes of baking.
Baking Time and Temperature Adjustment
- Initial Bake (with steam): Bake at the high temperature for the first 20-25 minutes with steam.
- Second Bake (without steam): Remove the steam pan (if used). Reduce the oven temperature to 425-450°F (220-230°C) and continue baking for another 20-30 minutes, or until the crust is deeply golden brown and the internal temperature of the loaf reaches 200-210°F (93-99°C) when measured with an instant-read thermometer.
Checking for Doneness
Besides the internal temperature, a hollow sound when tapping the bottom of the loaf is another indicator of a fully baked bread.
6. Cooling and Slicing
Patience during the cooling phase is essential.
The Importance of Cooling
Allow the bread to cool completely on a wire rack for at least 2-3 hours. During cooling, the internal structure of the bread continues to set and moisture redistributes. Slicing too early can result in a gummy interior. This cooling period is like a marathon runner crossing the finish line and recovering; the loaf is still active internally.
Slicing Your Loaf
Once cooled, use a sharp serrated knife to slice your sourdough. The crust may be firm, and a serrated knife will cut through it cleanly without crushing the interior.
Troubleshooting Common Loaf Pan Sourdough Issues
Even with careful attention, challenges can arise. Understanding common problems and their solutions can help you refine your technique.
Sluggish Rise / Dense Loaf
- Cause: Weak starter, insufficient bulk fermentation, under-proofing.
- Solutions: Ensure your starter is consistently active and doubling in volume after feeding. Extend bulk fermentation and proofing times, paying attention to dough activity rather than just elapsed time. Double-check your hydration levels – too low hydration can lead to a dense loaf.
Gummy Interior
- Cause: Under-baking, slicing too early.
- Solutions: Ensure the internal temperature reaches at least 200°F (93°C). Allow the loaf to cool completely on a wire rack for several hours before slicing.
Cracked Crust (during baking)
- Cause: Dough dried out during proofing, insufficient steam.
- Solutions: Ensure your dough is well-covered during proofing. Use sufficient steam during the initial phase of baking.
Pale Crust
- Cause: Oven temperature too low, insufficient baking time.
- Solutions: Ensure your oven is properly preheated. Increase baking time or temperature slightly in the latter stages of baking, if necessary.
Sourdough Taste Too Sour (or not sour enough)
- Cause: Fermentation time and temperature. Higher temperatures and longer fermentation periods generally lead to more pronounced sourness due to increased acetic acid production.
- Solutions: Adjust fermentation times and temperatures. For a milder flavor, shorten fermentation or keep the dough cooler. For a tangier loaf, extend fermentation or keep it warmer.
By understanding these principles and practicing these techniques, you can consistently produce delicious sourdough loaves in a loaf pan, transforming your kitchen into a haven of freshly baked bread.