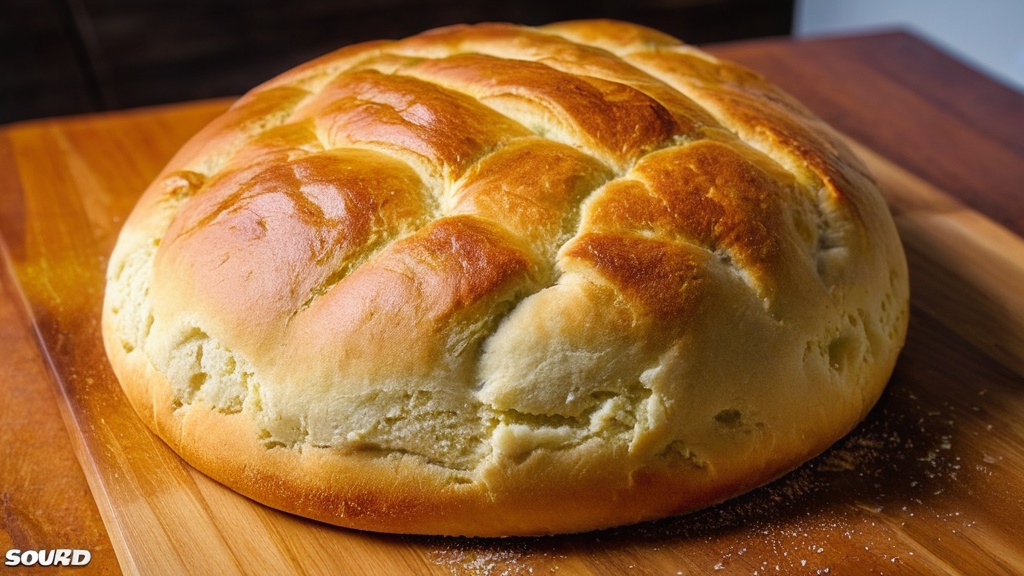
Sourdough bread has a rich history that dates back thousands of years, making it one of the oldest forms of bread known to humanity. Unlike commercial bread, which relies on store-bought yeast for leavening, sourdough is leavened through a natural fermentation process. This unique method not only gives sourdough its distinctive tangy flavor but also contributes to its chewy texture and crusty exterior. As you embark on your journey to create this artisanal bread, you will discover the beauty of working with simple ingredients and the satisfaction that comes from nurturing a living culture.
The allure of sourdough lies not just in its taste but also in the process itself. Each loaf tells a story, shaped by the environment, the flour used, and the care you put into it. As you learn to bake sourdough, you will find that it is as much about the journey as it is about the destination. The rhythmic motions of mixing, kneading, and shaping the dough can be meditative, allowing you to connect with the age-old traditions of bread-making. Whether you are a seasoned baker or a novice in the kitchen, sourdough offers an opportunity to explore your culinary creativity while enjoying the fruits of your labor.
If you’re looking to perfect your sourdough bread-making skills, you might find the article on mastering the art of sourdough particularly helpful. It offers valuable tips for achieving perfect loaves every time, making it a great companion to any sourdough recipe you may be following. You can read more about it here: Mastering the Art of Sourdough: Tips for Perfect Loaves Every Time.
Ingredients and Equipment Needed
To embark on your sourdough baking adventure, you will need a few essential ingredients and equipment. The primary components of sourdough bread are flour, water, salt, and your sourdough starter. When selecting flour, consider using high-quality bread flour or a combination of all-purpose and whole wheat flour. The protein content in bread flour helps create a strong gluten structure, which is crucial for achieving that perfect rise and chewy texture. Additionally, using whole wheat flour can enhance the flavor and nutritional value of your bread.
Water is another vital ingredient in sourdough baking. Ideally, you should use filtered or bottled water to avoid any chlorine or impurities that could hinder the fermentation process. Salt plays a crucial role in flavor enhancement and helps regulate yeast activity during fermentation. As for equipment, you will need a mixing bowl, a bench scraper for handling the dough, a kitchen scale for precise measurements, and a proofing basket or bowl lined with a cloth for shaping your loaves. A Dutch oven or baking stone is also recommended for achieving that crispy crust during baking. With these ingredients and tools at your disposal, you are well on your way to creating delicious sourdough bread.
Creating and Maintaining a Sourdough Starter
The heart of sourdough baking lies in the sourdough starter, a living culture of wild yeast and bacteria that you will cultivate over time. To create your starter, begin with equal parts flour and water—typically around 100 grams each. Mix them together in a clean jar until you achieve a thick paste. Cover the jar loosely with a lid or cloth to allow airflow while preventing contaminants from entering. Place it in a warm spot in your kitchen, ideally around 75°F to 80°F (24°C to 27°C), where it can thrive.
Over the next few days, you will feed your starter by discarding half of it and adding fresh flour and water. This process encourages the growth of wild yeast and lactic acid bacteria, which contribute to the characteristic flavor of sourdough. You will know your starter is ready when it doubles in size within 4 to 6 hours after feeding and produces a pleasant, slightly tangy aroma. Maintaining your starter requires regular feedings—daily if kept at room temperature or weekly if stored in the refrigerator. With patience and care, your starter will become a reliable companion in your sourdough baking journey.
Mixing and Kneading the Dough
Once your sourdough starter is active and bubbly, it’s time to mix your dough. Begin by combining your starter with water in a large mixing bowl. Stir until well incorporated before adding your chosen flour and salt. The mixing process is crucial as it helps hydrate the flour and distribute the ingredients evenly. You may find it helpful to use your hands to mix the dough initially; this tactile approach allows you to feel the texture and consistency as you work.
After mixing, it’s time to knead the dough. Kneading develops gluten, which gives bread its structure and chewiness. You can knead by hand on a floured surface or use a stand mixer fitted with a dough hook for convenience. If kneading by hand, use a technique called the “stretch and fold,” where you stretch one side of the dough and fold it over itself before rotating it 90 degrees and repeating the process. This method helps build strength without overworking the dough. Knead until the dough becomes smooth and elastic, which usually takes about 10 to 15 minutes by hand or 5 to 7 minutes in a mixer.
If you’re looking to perfect your sourdough bread baking skills, you might find inspiration in a related article that offers a comprehensive guide to the best sourdough recipes. This resource not only provides step-by-step instructions but also shares tips on achieving the perfect crust and crumb. For more details, check out this insightful article on sourdough baking. It could be just what you need to elevate your bread-making experience.
Fermenting and Proofing the Dough
| Metric | Value | Notes |
|---|---|---|
| Flour Type | Unbleached Bread Flour | Provides good gluten structure |
| Hydration Level | 75% | Ratio of water to flour by weight |
| Sourdough Starter Amount | 20% of flour weight | Active and bubbly starter preferred |
| Salt | 2% of flour weight | Enhances flavor and controls fermentation |
| Bulk Fermentation Time | 4-6 hours | At room temperature (~75°F / 24°C) |
| Proofing Time | 2-4 hours | Final rise before baking |
| Baking Temperature | 450°F (232°C) | Use a Dutch oven or baking stone for best crust |
| Baking Time | 30-40 minutes | First 20 minutes covered, then uncovered |
| Starter Refresh Frequency | Every 12-24 hours | Maintains starter activity and health |
After kneading, it’s time for fermentation—a critical step that allows flavors to develop and the dough to rise. Place your kneaded dough in a lightly greased bowl and cover it with a damp cloth or plastic wrap to prevent it from drying out. Allow it to rest at room temperature for several hours until it has doubled in size. This bulk fermentation phase can take anywhere from 4 to 8 hours, depending on factors like temperature and the strength of your starter.
Once bulk fermentation is complete, it’s time for shaping and proofing. Gently deflate the dough by pressing down on it before turning it out onto a floured surface. Shape it into a round or oval loaf, depending on your preference. After shaping, place the dough into a proofing basket or bowl lined with a cloth for its final rise. Cover it again and let it proof for another 1 to 3 hours at room temperature or overnight in the refrigerator for enhanced flavor development. The dough is ready when it has puffed up but is still slightly springy to the touch.
Baking the Sourdough Bread
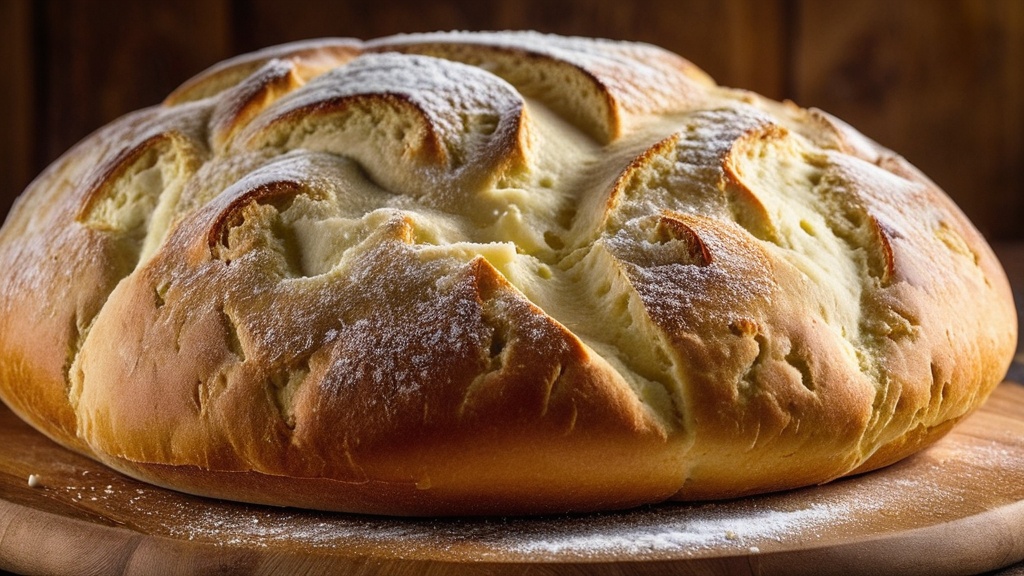
Baking sourdough bread is where all your hard work pays off, transforming your carefully nurtured dough into a beautiful loaf. Preheat your oven to 450°F (232°C) about 30 minutes before you’re ready to bake. If you’re using a Dutch oven, place it inside the oven during preheating to create an ideal steam environment for baking. The steam helps achieve that coveted crusty exterior while keeping the interior moist.
When you’re ready to bake, carefully remove the hot Dutch oven from the oven using oven mitts. Gently transfer your proofed dough into the pot—this can be done by flipping it out of the proofing basket or using parchment paper for easier handling. Score the top of your loaf with a sharp knife or razor blade; this allows steam to escape during baking and creates an attractive pattern on the crust. Cover with the lid and return it to the oven for about 30 minutes before removing the lid for an additional 15-20 minutes of baking until golden brown. The aroma that fills your kitchen during this time will be nothing short of heavenly.
Troubleshooting Common Sourdough Bread Issues
Even experienced bakers encounter challenges when making sourdough bread, so don’t be discouraged if things don’t go perfectly at first. One common issue is under-proofing, which can result in dense bread with little rise. If your loaf seems heavy or doesn’t expand much during baking, consider extending your proofing time next time or ensuring that your starter is active enough before mixing.
Another frequent problem is over-proofing, which can lead to a flat loaf that collapses in the oven. If you notice that your dough has become overly soft or has lost its shape during proofing, try reducing the proofing time or adjusting your environment’s temperature for better control over fermentation rates. Additionally, if you find that your crust is too thick or hard, consider lowering your oven temperature slightly or adjusting your baking time to achieve a more desirable texture.
Serving and Enjoying Your Homemade Sourdough Bread
Once you’ve successfully baked your sourdough bread, it’s time to enjoy the fruits of your labor! Allow your loaf to cool on a wire rack for at least an hour before slicing; this resting period helps set the crumb structure and enhances flavor development. When you’re ready to serve, consider pairing slices of warm sourdough with butter or olive oil for an indulgent treat.
Sourdough bread is incredibly versatile; you can use it for sandwiches, toast topped with avocado or jam, or simply enjoy it plain alongside soups and salads. The tangy flavor profile complements various dishes beautifully, making it an excellent addition to any meal. As you savor each bite of your homemade sourdough bread, take pride in knowing that you’ve created something truly special—an artisanal loaf crafted with care and patience that reflects both tradition and personal touch in every slice.
Get Your Perfect Sourdough Ratio!
FAQs
What are the basic ingredients needed for the best sourdough bread recipe?
The basic ingredients for sourdough bread include flour, water, salt, and a sourdough starter, which is a natural leavening agent made from fermented flour and water.
How long does it take to make sourdough bread from start to finish?
Making sourdough bread typically takes between 12 to 24 hours, including the time for fermenting the starter, mixing, bulk fermentation, shaping, proofing, and baking.
What is the purpose of the sourdough starter in the recipe?
The sourdough starter contains wild yeast and beneficial bacteria that ferment the dough, causing it to rise and develop the bread’s characteristic tangy flavor and chewy texture.
Can I use any type of flour for sourdough bread?
While you can use various flours, bread flour or a mix of bread flour and whole wheat flour is commonly preferred for sourdough bread because of their higher protein content, which helps develop gluten and structure.
How should sourdough bread be stored to maintain freshness?
Sourdough bread is best stored at room temperature in a paper bag or bread box to maintain its crust. For longer storage, it can be sliced and frozen, then toasted or reheated when needed.